Setting the coordinate system
VRGS needs a project coordinate reference system (CRS) before it can place satellite imagery, the globe, GNSS positions, photograph GPS or KML on your model. Without one the model still loads and looks right, but anything from outside the project lands in the wrong place, or cannot be placed at all.
Data is converted into the project frame as it is imported. Setting the CRS afterwards does not move anything that came in without one, so do this straight after creating the project.
1. Open the project properties
The project settings are on the bar at the top of the Properties panel.
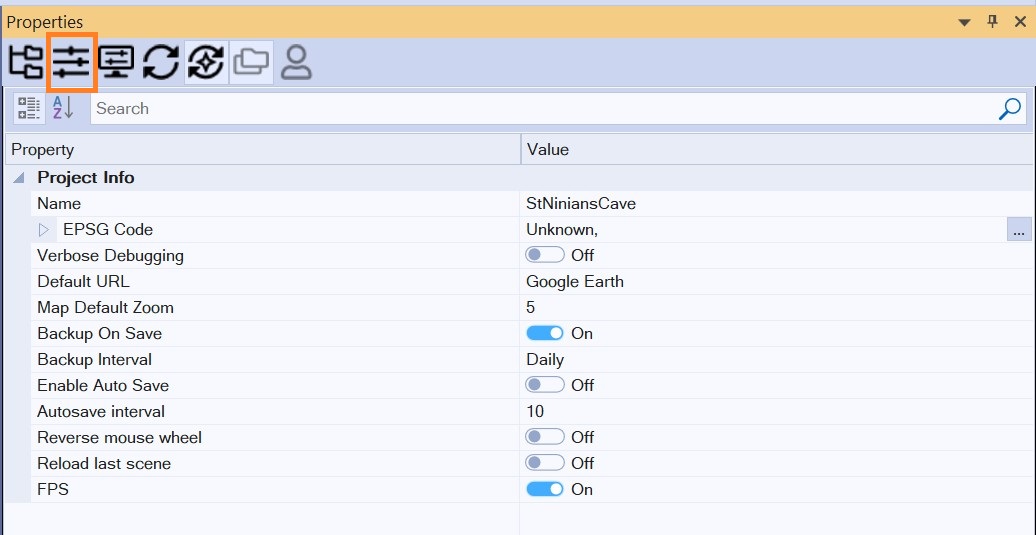
Click the project properties button  .
The panel now shows the project's own properties.
2. Open the coordinate system list
Under General, find EPSG Code and click the … button at the right of the property. The coordinate definition dialog opens with a list of coordinate systems and their EPSG codes.
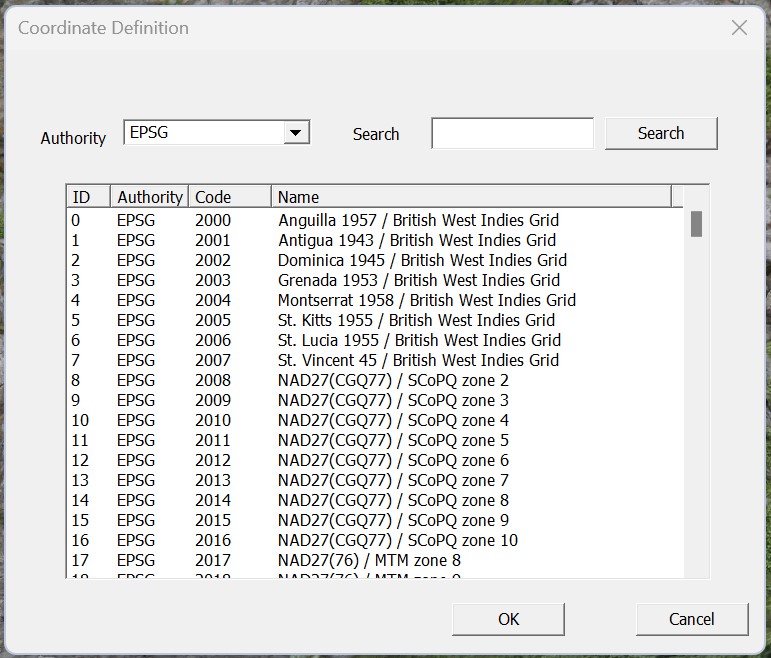
3. Search for your system
Type part of the name in the search box and click Search. Here we look for the
British National Grid by searching for OSGB.
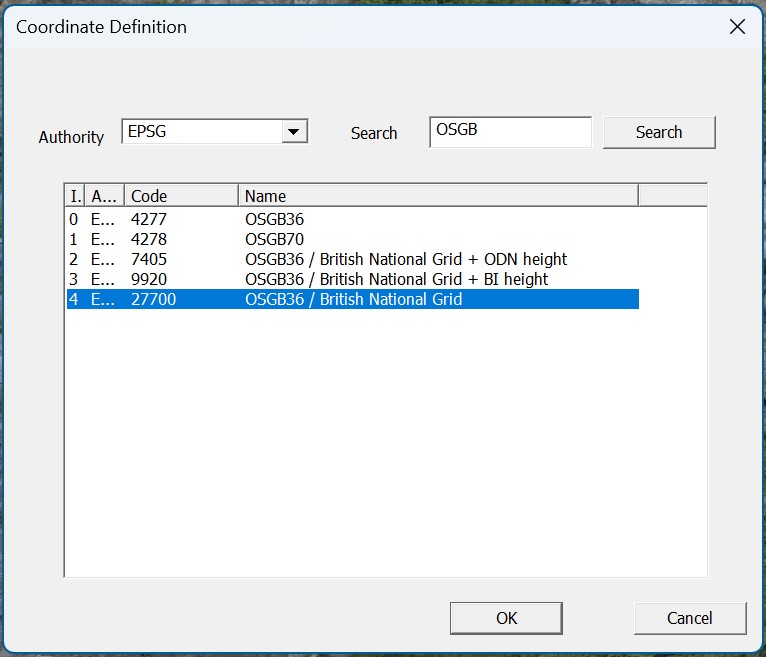
The search matches the whole phrase you type, so start broad (UTM, OSGB,
ETRS89) and narrow it once you see the results. If you know the EPSG code, for
example 27700 for British National Grid or 32630 for UTM zone 30N, search for
that instead.
4. Pick it and check
Select the system and accept. Back in the Properties panel, EPSG Code now reads back the CRS's Description and Code. Check them: it is the quickest way to catch a near-miss, such as the wrong UTM zone or hemisphere.
What next
Coordinate Systems and Georeferencing covers what this choice affects, and the mistakes that put a model kilometres from where it belongs:
- Linear units — a CRS in feet stores everything in feet.
- Vertical datums and heights — ellipsoidal against orthometric heights, and the geoid transform.
- Reprojecting data that arrives in the wrong frame.
- Diagnosing a georeferencing problem.